MoneyWorks Manual
Entering Receipts
A Receipt represents money that has entered one of your bank accounts, or at least has been received for banking at a later time.
If the receipt is for payment of an invoice that you have already entered into MoneyWorks it will need to be processed specially— see Receiving Payment for Sales Invoices. If the receipt is for a cash sale of some sort, or for other income (such as interest earned), proceed as follows:
- In the Transactions window press Ctrl-N/⌘-N (or Choose Edit>New Receipt), or click the New toolbar button
The new transaction window will open.
- If necessary set the type to receipt using the type menu
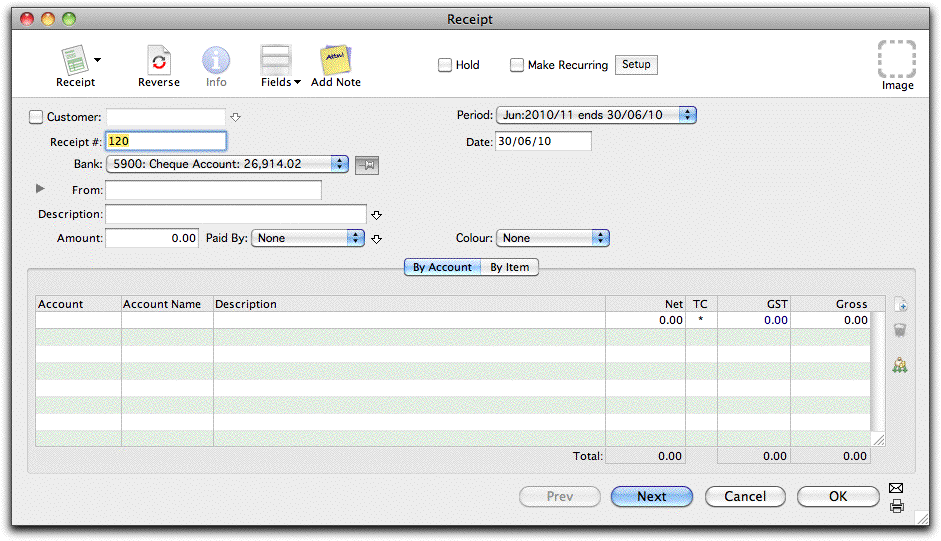
- If the receipt is from a customer whose details are recorded in the Names file, or if it is for an invoice you have previously sent out, set the Customer check box and key the customer code into the Customer field
The customer’s name will automatically appear in the From field.
- Enter the receipt number into the Receipt # field
MoneyWorks will have inserted a number one greater than the previously used one. If this is correct, you need not type anything in.
If you want, your receipt numbers can be prefixed by non-numeric characters. When MoneyWorks inserts the next receipt number for you, the non-numeric characters (and any leading zeros) will be prepended to the number. For example: If you previously entered “CR00405”, MoneyWorks will enter “CR00406” for you in the next Receipt transaction.
- Tab across to the Date field and replace the date if necessary
By default, this will contain today’s date or the last date used.
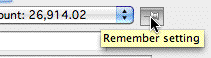
- Choose the bank account to which the receipt is being made from the Bank pop-up menu
The pop-up menu will be displaying the default bank account for the transaction type. Set the pin next to the bank menu to change the default.
Note: If you accumulate receipts for subsequent banking, you should use a bank holding accounting for the receipt. When you finally come to bank the money, use the Banking command.
Note: In MoneyWorks Gold the display of the bank balance is controlled by the See Balances in Bank Pop-up user privilege — see Multiuser
- Type the payer details into the From field
You can enter up to 200 characters into this field. Entering a customer code into the Customer field, automatically fills out the From field.

If the payer details do not fit on a single line, or you want to enter address details, click the address disclosure control to show the full mail and delivery addresses — see Viewing the Address Fields.
- Enter a text description if required into the Description field
You can enter up to 1000 characters into this field—press Ctrl-downarrow/⌘-downarrow to see the full description field.
- Enter the total amount being received into the Amount field
The OK and Next buttons dim when an amount is entered into the Amount field. The transaction is not complete until you have allocated the amount to one or more accounts.
- Set the Paid By pop-up
Setting this determines how the transaction will be printed on the deposit slip in the banking command. “Cash” transactions are aggregated as a single figure. Other transactions are listed individually.
To record the cheque/credit card details
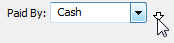
- Click the down arrow next to the Paid By pop-up menu
If the Paid By pop-up menu is itself highlighted, you can press Ctrl-downarrow/⌘-downarrow.
The Receipt Details screen will be displayed—the details of this depend on whether you are processing a credit card or another form of payment.
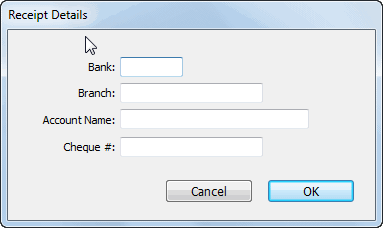
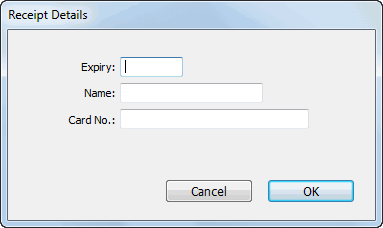
Enter the receipt details—you only need to do this if they differ from those displayed next to the customer code (i.e. on the customer record).
Additional fields can be displayed using the Views toolbar button.
- Set the details tab to Service or Product, depending on the type of transaction
The total Amount of the Receipt needs to be allocated to one or more accounts before the transaction can be entered.
- Press Ctrl-tab (Mac) or Ctrl-~ (Win) to move to the first detail line
- See the section Entering Detail Lines to find out how to enter detail lines by account code or by product code
Note that the OK and Next buttons remain dimmed until the total gross amount and the total of the detail lines balance.

- Set the print and post options if you want to print out a tax receipt form or post the transaction when it is accepted
- When the details of the transaction are complete, click the Next button or press the keypad-enter key to enter this transaction and bring up a new Receipt window
Click the OK button if this is the last payment to be entered. Clicking Cancel discards the transaction.